Arduino final ppt
- 1. Introduction to Arduino & Home Automation Using Bluetooth Prepared By S.Indumathi AP/ECE, KLNCE T.D.Preethi Mai Lab Instructor/ECE, KLNCE
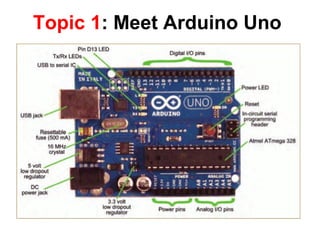
- 3. Topic 1: Meet Arduino Uno
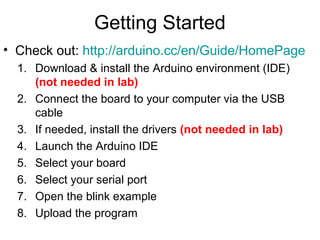
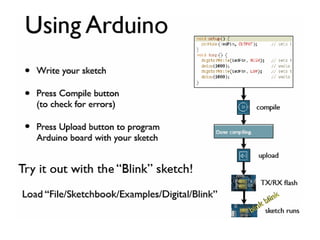
- 4. Getting Started • Check out: http://arduino.cc/en/Guide/HomePage 1. Download & install the Arduino environment (IDE) (not needed in lab) 2. Connect the board to your computer via the USB cable 3. If needed, install the drivers (not needed in lab) 4. Launch the Arduino IDE 5. Select your board 6. Select your serial port 7. Open the blink example 8. Upload the program
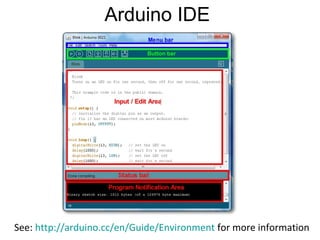
- 5. Arduino IDE See: http://arduino.cc/en/Guide/Environment for more information
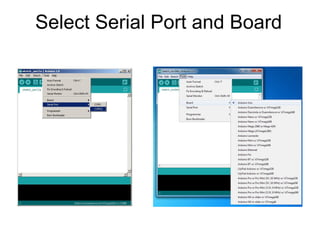
- 6. Select Serial Port and Board
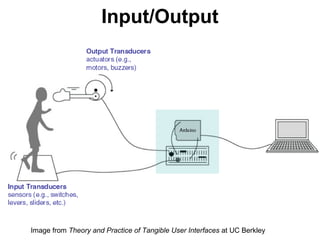
- 8. Input/Output Image from Theory and Practice of Tangible User Interfaces at UC Berkley
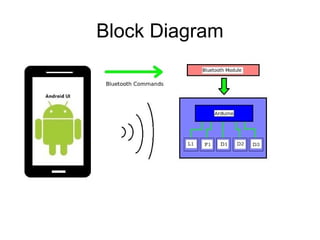
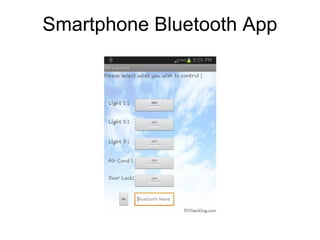
- 9. Project Home Automation Using Arduino Uno • This project is used to control lights, air conditioning, door locks ,etc through Smartphone. • This system uses Bluetooth to connect with your device and control the various appliances in your home.
- 10. Block Diagram
- 11. Components
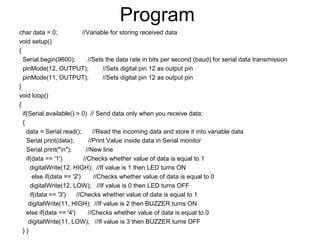
- 12. Program char data = 0; //Variable for storing received data void setup() { Serial.begin(9600); //Sets the data rate in bits per second (baud) for serial data transmission pinMode(12, OUTPUT); //Sets digital pin 12 as output pin pinMode(11, OUTPUT); //Sets digital pin 12 as output pin } void loop() { if(Serial.available() > 0) // Send data only when you receive data: { data = Serial.read(); //Read the incoming data and store it into variable data Serial.print(data); //Print Value inside data in Serial monitor Serial.print("n"); //New line if(data == '1') //Checks whether value of data is equal to 1 digitalWrite(12, HIGH); //If value is 1 then LED turns ON else if(data == '2') //Checks whether value of data is equal to 0 digitalWrite(12, LOW); //If value is 0 then LED turns OFF if(data == '3') //Checks whether value of data is equal to 1 digitalWrite(11, HIGH); //If value is 2 then BUZZER turns ON else if(data == '4') //Checks whether value of data is equal to 0 digitalWrite(11, LOW); //If value is 3 then BUZZER turns OFF } }
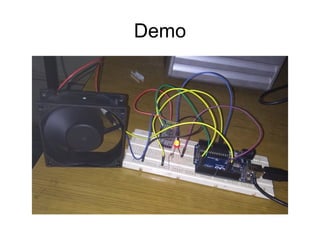
- 14. Demo
- 15. Thank You

