ºÝºÝߣ

ºÝºÝߣShare a Scribd company logo
Development of Hexagonal
Pyramid with a Hole
Development Steps
SUBIN B MARKOSE
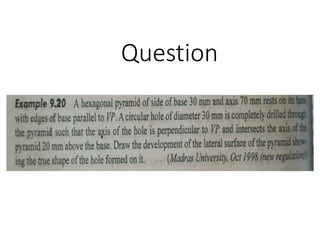
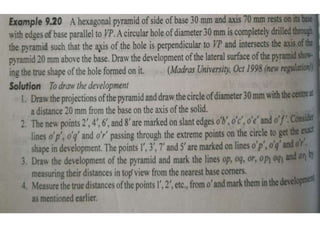
Question
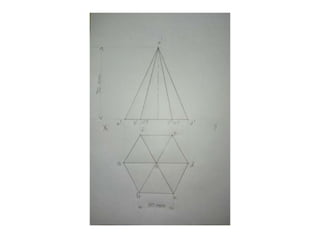
Step 1
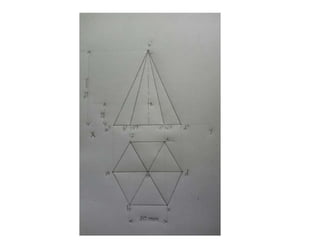
• Draw the front and top view of the pyramid in the
given dimensions.
• Naming is very important for this problem.
Development of hexagonal pyramid with a hole
Step 2
• Mark the center of the hole ( represented by '1') at
a height of 20 mm from the base.
Development of hexagonal pyramid with a hole
Step 3
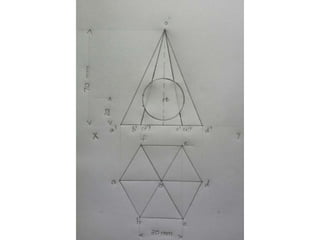
• Draw the hole with center at '1' and diameter 30
mm.
• Note the edges of the pyramid that will get cut by
the hole.
Development of hexagonal pyramid with a hole
Step 4
• Name the edges that are cut by the hole.
Development of hexagonal pyramid with a hole
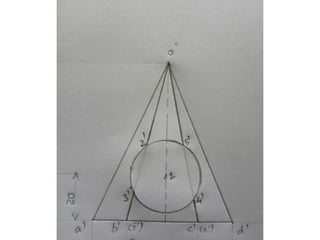
Step 5
• To get additional cutting points for getting an
effective figure, we are drawing additional two
edges.
• The edges are tangential to the hole.
• Note: This step provides additional cutting points
so that development can be drawn correctly.
Development of hexagonal pyramid with a hole
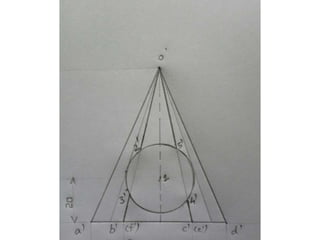
Step 6
• Name the cutting points.
Development of hexagonal pyramid with a hole
Step 7
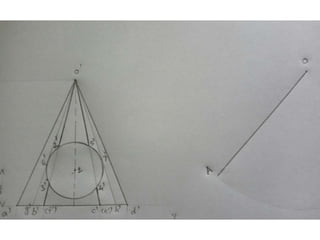
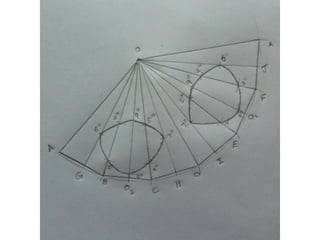
• For starting the development, we need true slant
height, which is represented by O-A or O-D
• Here O-A is selected.
Development of hexagonal pyramid with a hole
Step 8
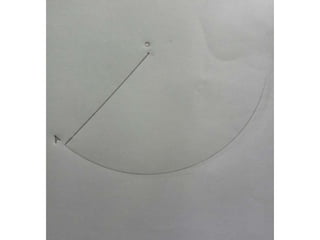
• With O-A as radius, draw an arc.
Development of hexagonal pyramid with a hole
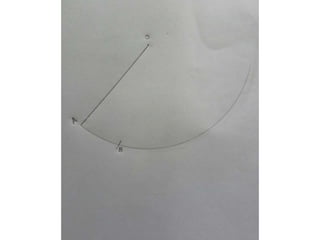
Step 9
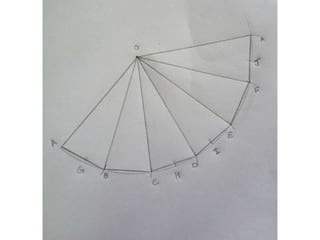
• We have to mark the base edges of the pyramid on
the arc.
• Take the length of base edge = 30 mm and plot on
the arc.
Development of hexagonal pyramid with a hole
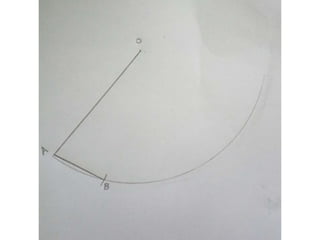
Step 10
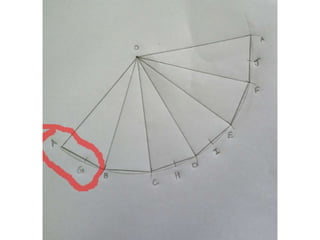
• Join A & B so that edge A - B is plotted.
Development of hexagonal pyramid with a hole
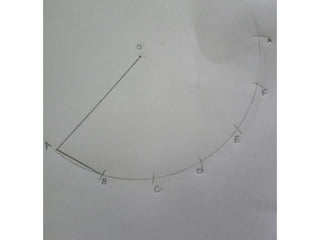
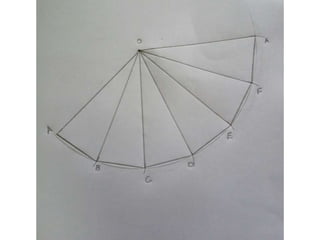
Step 11
• Similarly plot other edges on the arc and join them
so that all base edges are plotted.
Development of hexagonal pyramid with a hole
Step 12
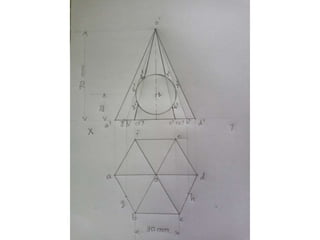
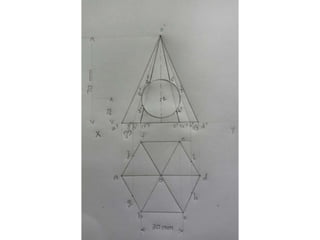
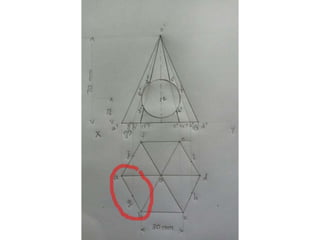
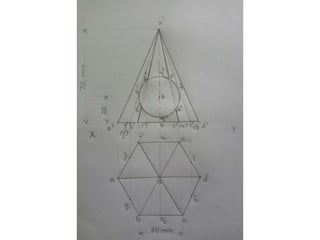
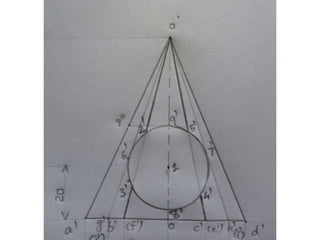
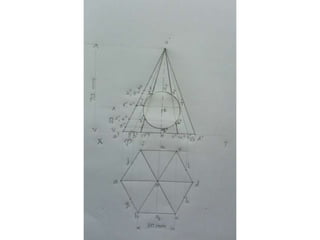
• Now focus on front and top views.
• The edges drawn on front view are plotted on top
view.
• Check the images and mark all the edges correctly.
• Take care to mark the edges neatly so that figure is
not too complex.
Development of hexagonal pyramid with a hole
Step 13
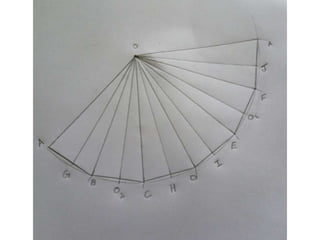
• Those edges are plotted on to the development.
• For this, select the distance on top view, that
means, select distance 'a - g' on top view and mark
on development to get 'A - G'.
• Similarly do for other edges.
Development of hexagonal pyramid with a hole
Step 14
• Now the axis of the pyramid is also get cut by the
hole.
• Name those edges in top view and on
development.
Development of hexagonal pyramid with a hole
Step 15
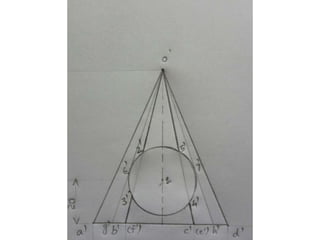
• Next we have to plot the cutting points on to
development.
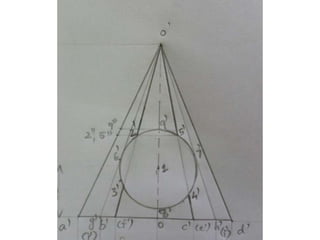
• Select point 9'. It is cut on axis. We need its true
height where the point is cut.
• O - a' is true length. So draw a horizontal line from
9' to slant height O - a' and mark 9''.
Development of hexagonal pyramid with a hole
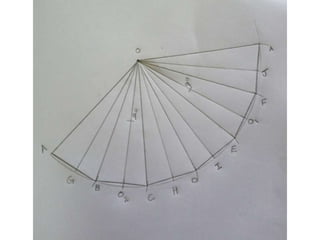
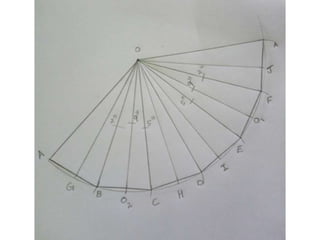
Step 16
• Take the length O - 9'' and plot on development.
• It is cut on axis edge which is represented on
development as O - O1 and O - O2.
Development of hexagonal pyramid with a hole
Step 16
• Similarly take true length of the cutting points as
done in previous slide and mark them on
development.
Development of hexagonal pyramid with a hole
Comments
• Draw very carefully
• Mistakes in naming will result in a wrong figure
• Any missing edge or corner can be assumed.
• Must practice and study.
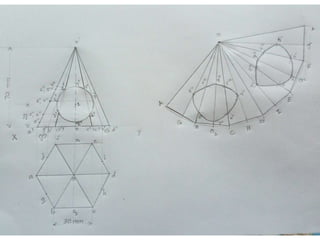
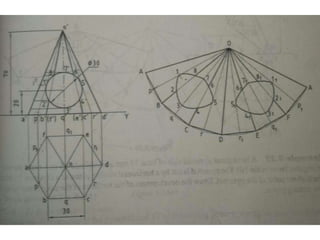
• Additional images if any doubt exists...
Development of hexagonal pyramid with a hole
• End of presentation...
More Related Content

Development of hexagonal pyramid with a hole

  • 1. Development of Hexagonal Pyramid with a Hole Development Steps SUBIN B MARKOSE
  • 3. Step 1 • Draw the front and top view of the pyramid in the given dimensions. • Naming is very important for this problem.
  • 5. Step 2 • Mark the center of the hole ( represented by '1') at a height of 20 mm from the base.
  • 7. Step 3 • Draw the hole with center at '1' and diameter 30 mm. • Note the edges of the pyramid that will get cut by the hole.
  • 9. Step 4 • Name the edges that are cut by the hole.
  • 11. Step 5 • To get additional cutting points for getting an effective figure, we are drawing additional two edges. • The edges are tangential to the hole. • Note: This step provides additional cutting points so that development can be drawn correctly.
  • 13. Step 6 • Name the cutting points.
  • 15. Step 7 • For starting the development, we need true slant height, which is represented by O-A or O-D • Here O-A is selected.
  • 17. Step 8 • With O-A as radius, draw an arc.
  • 19. Step 9 • We have to mark the base edges of the pyramid on the arc. • Take the length of base edge = 30 mm and plot on the arc.
  • 21. Step 10 • Join A & B so that edge A - B is plotted.
  • 23. Step 11 • Similarly plot other edges on the arc and join them so that all base edges are plotted.
  • 26. Step 12 • Now focus on front and top views. • The edges drawn on front view are plotted on top view. • Check the images and mark all the edges correctly. • Take care to mark the edges neatly so that figure is not too complex.
  • 29. Step 13 • Those edges are plotted on to the development. • For this, select the distance on top view, that means, select distance 'a - g' on top view and mark on development to get 'A - G'. • Similarly do for other edges.
  • 33. Step 14 • Now the axis of the pyramid is also get cut by the hole. • Name those edges in top view and on development.
  • 36. Step 15 • Next we have to plot the cutting points on to development. • Select point 9'. It is cut on axis. We need its true height where the point is cut. • O - a' is true length. So draw a horizontal line from 9' to slant height O - a' and mark 9''.
  • 38. Step 16 • Take the length O - 9'' and plot on development. • It is cut on axis edge which is represented on development as O - O1 and O - O2.
  • 40. Step 16 • Similarly take true length of the cutting points as done in previous slide and mark them on development.
  • 46. Comments • Draw very carefully • Mistakes in naming will result in a wrong figure • Any missing edge or corner can be assumed. • Must practice and study.
  • 47. • Additional images if any doubt exists...
  • 50. • End of presentation...