GIMP Tutorial.pptx
- 1. GIMP Tutorial v2018-11 Boo Virk, Simon Andrews, Jo Montgomery Babraham.bioinformatics@babraham.ac.uk
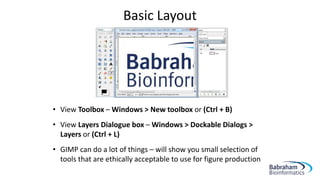
- 2. What is GIMP âĒ GNU Image Manipulation Program âĒ Bitmap Graphics Editor âĒ Open Source âĒ Cross Platform âĒ Not for Vector editing www.gimp.org
- 4. Getting GIMP âĒ Open Source âĒ Cross Platform www.gimp.org
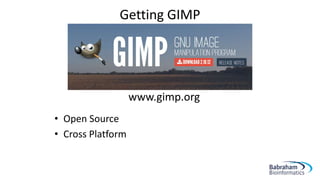
- 5. âĒ View Toolbox â Windows > New toolbox or (Ctrl + B) âĒ View Layers Dialogue box â Windows > Dockable Dialogs > Layers or (Ctrl + L) âĒ GIMP can do a lot of things â will show you small selection of tools that are ethically acceptable to use for figure production Basic Layout
- 6. Opening Images âĒ To open an image for editing: â Drag file onto a new GIMP window or â File > Open or (Ctrl + O) âĒ After opening, save a working copy of the file âĒ GIMP saves files as XCF files by default, but you can export files in other formats (e.g. PNG)
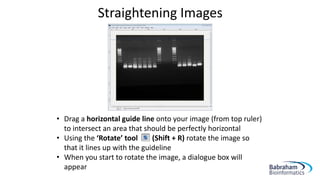
- 7. Straightening Images âĒ Drag a horizontal guide line onto your image (from top ruler) to intersect an area that should be perfectly horizontal âĒ Using the âRotateâ tool (Shift + R) rotate the image so that it lines up with the guideline âĒ When you start to rotate the image, a dialogue box will appear
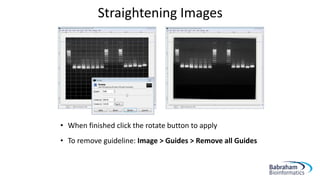
- 8. Straightening Images âĒ When finished click the rotate button to apply âĒ To remove guideline: Image > Guides > Remove all Guides
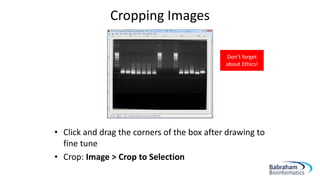
- 9. Cropping Images âĒ Useful to crop unnecessary edges away âĒ Can reduce file size when bringing images into a vector file âĒ Use the âRectangle Selectâ tool (R) to draw a box around the area of the image you want to keep
- 10. âĒ Click and drag the corners of the box after drawing to fine tune âĒ Crop: Image > Crop to Selection Cropping Images Donât forget about Ethics!
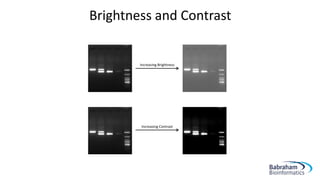
- 11. Brightness and Contrast Increasing Brightness Increasing Contrast
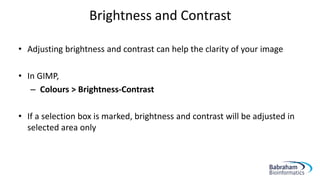
- 12. Brightness and Contrast âĒ Adjusting brightness and contrast can help the clarity of your image âĒ In GIMP, â Colours > Brightness-Contrast âĒ If a selection box is marked, brightness and contrast will be adjusted in selected area only
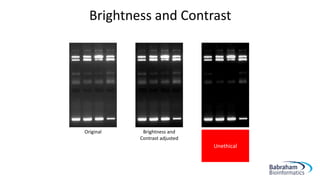
- 13. Brightness and Contrast Original Brightness and Contrast adjusted Brightness and Contrast adjusted too much image is oversaturated Unethical
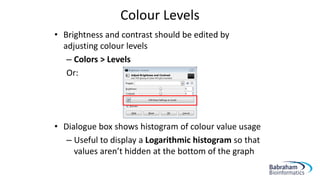
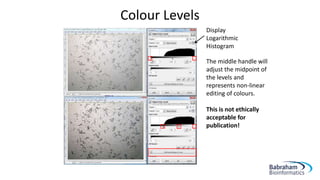
- 14. Colour Levels âĒ Brightness and contrast should be edited by adjusting colour levels â Colors > Levels Or: âĒ Dialogue box shows histogram of colour value usage â Useful to display a Logarithmic histogram so that values arenât hidden at the bottom of the graph
- 15. Colour Levels Display Logarithmic Histogram The middle handle will adjust the midpoint of the levels and represents non-linear editing of colours. This is not ethically acceptable for publication!
- 16. Alpha channel âĒ Alpha channels are masks through which you can display images âĒ Within an alpha channel: â White acts as the visible area â Black acts as the transparent area â Level of gray in between determines the level of visibility.
- 17. Why use an alpha channel? 0 50 100 150 200 250 0 50 100 150 200 250
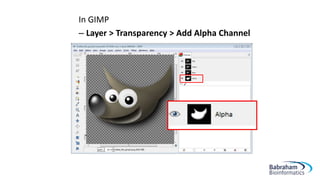
- 18. In GIMP â Layer > Transparency > Add Alpha Channel
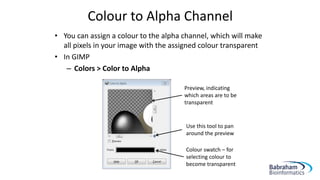
- 19. Colour to Alpha Channel âĒ You can assign a colour to the alpha channel, which will make all pixels in your image with the assigned colour transparent âĒ In GIMP â Colors > Color to Alpha Use this tool to pan around the preview Preview, indicating which areas are to be transparent Colour swatch â for selecting colour to become transparent
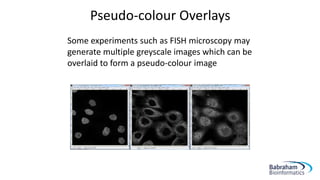
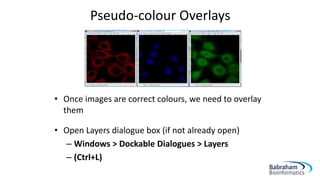
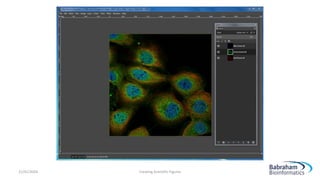
- 20. Pseudo-colour Overlays Some experiments such as FISH microscopy may generate multiple greyscale images which can be overlaid to form a pseudo-colour image
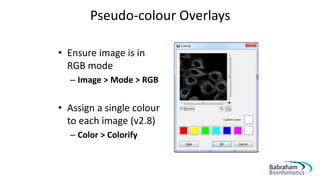
- 21. âĒ Ensure image is in RGB mode â Image > Mode > RGB âĒ Assign a single colour to each image (v2.8) â Color > Colorify Pseudo-colour Overlays
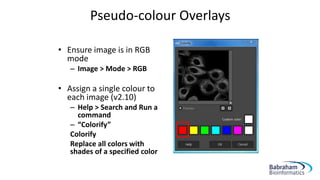
- 22. âĒ Ensure image is in RGB mode â Image > Mode > RGB âĒ Assign a single colour to each image (v2.10) â Help > Search and Run a command â âColorifyâ Colorify Replace all colors with shades of a specified color Pseudo-colour Overlays
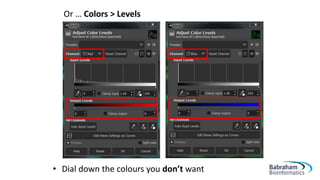
- 23. Or âĶ Colors > Levels âĒ Dial down the colours you donât want
- 24. âĒ Once images are correct colours, we need to overlay them âĒ Open Layers dialogue box (if not already open) â Windows > Dockable Dialogues > Layers â (Ctrl+L) Pseudo-colour Overlays
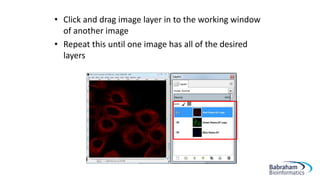
- 25. âĒ Click and drag image layer in to the working window of another image âĒ Repeat this until one image has all of the desired layers
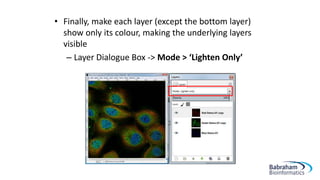
- 26. âĒ Finally, make each layer (except the bottom layer) show only its colour, making the underlying layers visible â Layer Dialogue Box -> Mode > âLighten Onlyâ
- 27. 21/01/2024 Creating Scientific Figures
- 28. Scaling Images âĒ GIMP can be used to scale the size of your image â Image > Scale Image Avoid making your images bigger than original size, bitmaps do not scale up well!
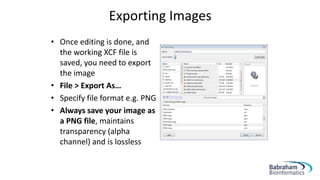
- 29. Exporting Images âĒ Once editing is done, and the working XCF file is saved, you need to export the image âĒ File > Export AsâĶ âĒ Specify file format e.g. PNG âĒ Always save your image as a PNG file, maintains transparency (alpha channel) and is lossless


