際際滷

際際滷Share a Scribd company logo
Green screen test

   Step-by-Step
Record Footage
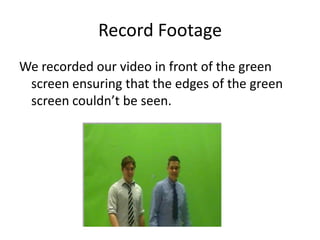
We recorded our video in front of the green
 screen ensuring that the edges of the green
 screen couldnt be seen.
Import Footage
We then imported the
footage into adobe after
effects along with the
image we were using as
the background.
Keying
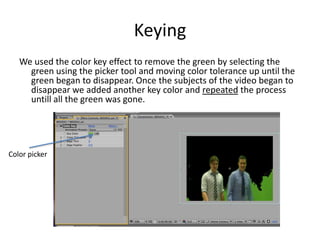
   We used the color key effect to remove the green by selecting the
     green using the picker tool and moving color tolerance up until the
     green began to disappear. Once the subjects of the video began to
     disappear we added another key color and repeated the process
     untill all the green was gone.


Color picker
Background image
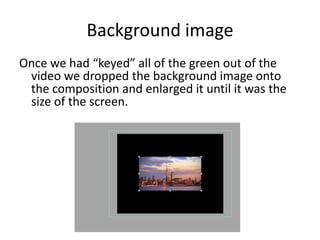
Once we had keyed all of the green out of the
 video we dropped the background image onto
 the composition and enlarged it until it was the
 size of the screen.
Finished Video
Once all of the following steps had been completed
 we had our finished green screen test. We then
 exported it and uploaded it to youtube.
More Related Content

Green screen (step-by-step)

  • 1. Green screen test Step-by-Step
  • 2. Record Footage We recorded our video in front of the green screen ensuring that the edges of the green screen couldnt be seen.
  • 3. Import Footage We then imported the footage into adobe after effects along with the image we were using as the background.
  • 4. Keying We used the color key effect to remove the green by selecting the green using the picker tool and moving color tolerance up until the green began to disappear. Once the subjects of the video began to disappear we added another key color and repeated the process untill all the green was gone. Color picker
  • 5. Background image Once we had keyed all of the green out of the video we dropped the background image onto the composition and enlarged it until it was the size of the screen.
  • 6. Finished Video Once all of the following steps had been completed we had our finished green screen test. We then exported it and uploaded it to youtube.