How to create Stunning graphics using canva?
- 1. How to create Awesome Graphics using
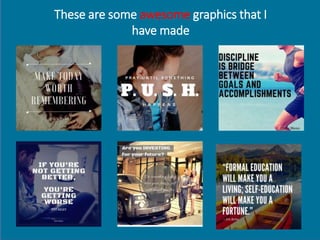
- 2. These are some awesome graphics that I have made
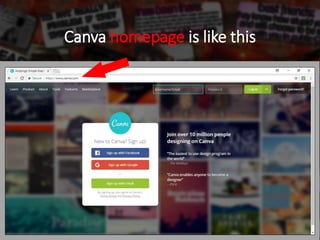
- 3. Open Internet Browser and go to www.canva.com
- 4. Canva homepage is like this
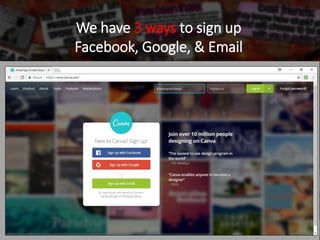
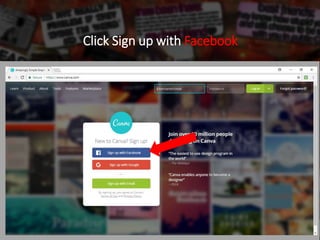
- 5. We have 3 ways to sign up Facebook, Google, & Email
- 6. Click Sign up with Facebook
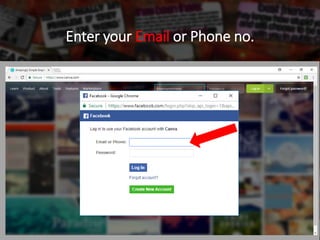
- 7. Enter your Email or Phone no.
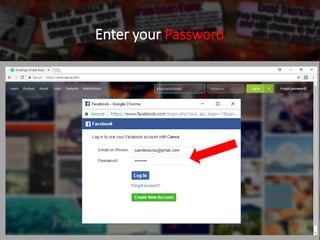
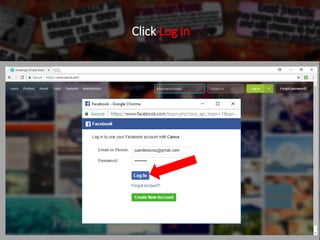
- 9. Click Log in
- 10. Sign Up using Google account. Click on Sign up with Google.
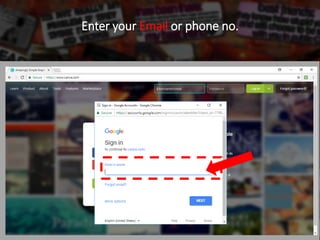
- 11. Enter your Email or phone no.
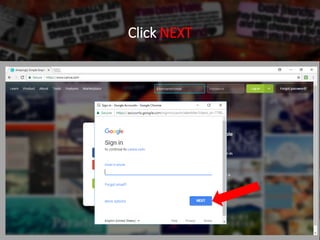
- 12. Click NEXT
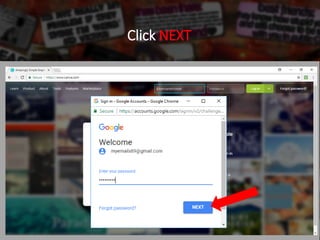
- 14. Click NEXT
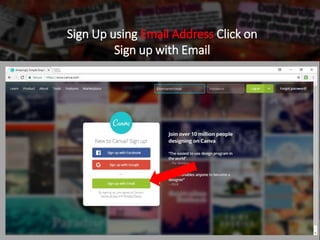
- 15. Sign Up using Email Address Click on Sign up with Email
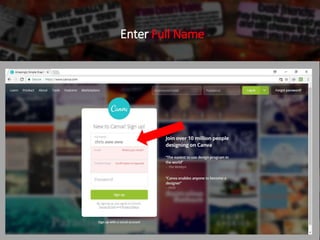
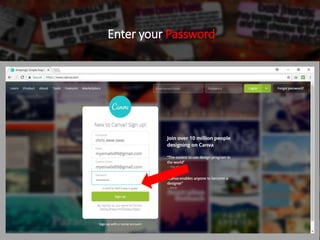
- 16. Enter Full Name
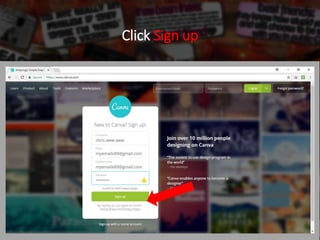
- 20. Click Sign up
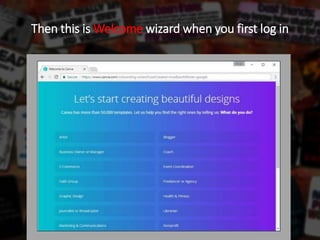
- 21. Then this is Welcome wizard when you first log in
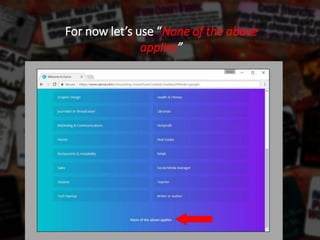
- 22. Tips By selecting what you wanted to do from the list, Canva will help you by displaying related templates You can always use other templates if you want .
- 23. For now let’s use “None of the above applies”
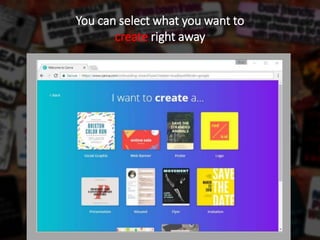
- 24. You can select what you want to create right away
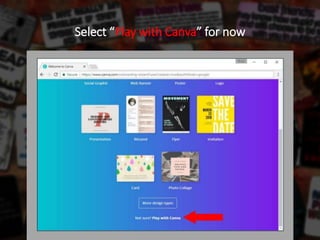
- 25. Select “Play with Canva” for now
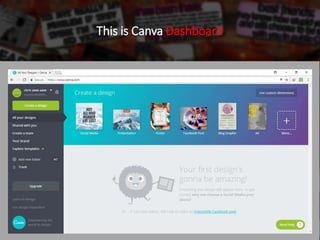
- 26. The Canva Dashboard It’s the starting page every time we login to Canva
- 27. This is Canva Dashboard
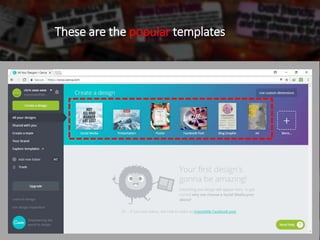
- 28. These are the popular templates
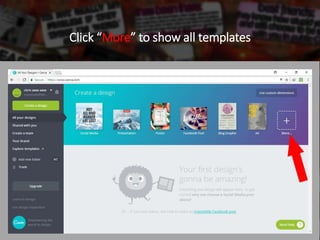
- 29. Click “More” to show all templates
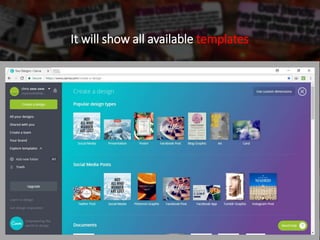
- 30. It will show all available templates
- 31. Tips Canva templates are using image sizes that are optimized for what you intend to use them for. Hovering or pointing your mouse to templates will show you what the image size will be
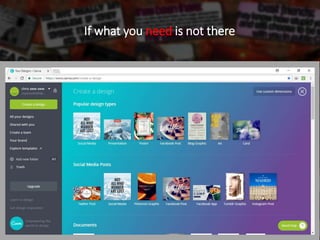
- 32. If what you need is not there
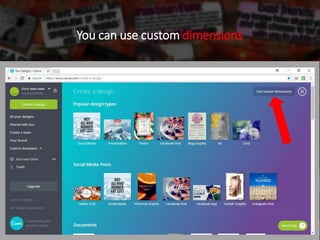
- 33. You can use custom dimensions
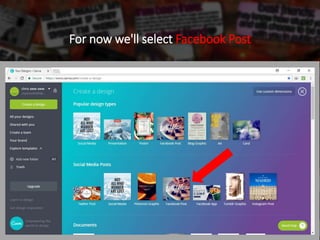
- 34. For now we'll select Facebook Post
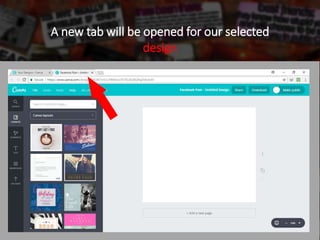
- 35. A new tab will be opened for our selected design
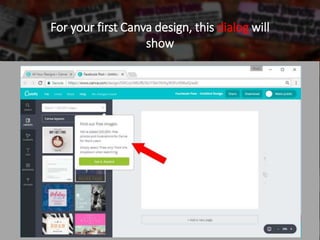
- 36. For your first Canva design, this dialog will show
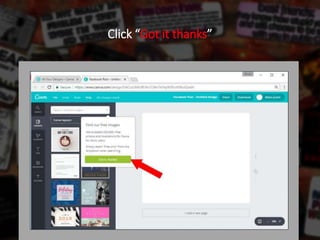
- 37. Click “Got it łŮłó˛ą˛Ô°ě˛ő”
- 38. Let's Get familiar with Canva I will show you how to get around with the Canva menu, buttons and interface Tips
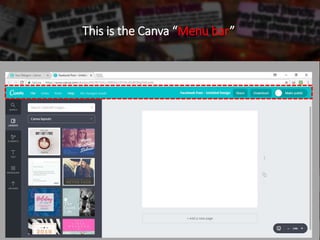
- 39. This is the Canva “Menu bar”
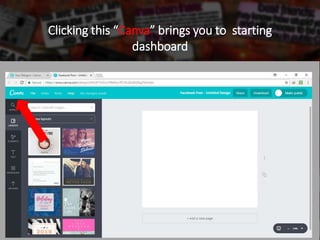
- 40. Clicking this “Canva” brings you to starting dashboard
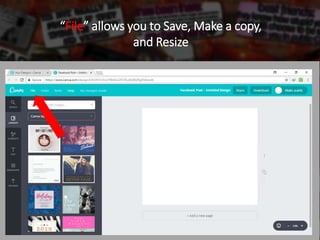
- 41. “File” allows you to Save, Make a copy, and Resize
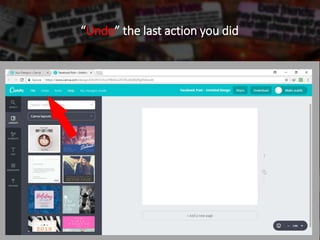
- 42. “Undo” the last action you did
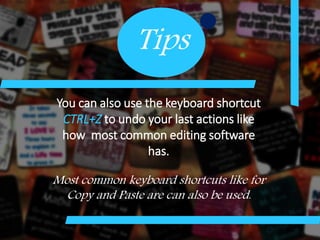
- 43. Tips You can also use the keyboard shortcut CTRL+Z to undo your last actions like how most common editing software has. Most common keyboard shortcuts like for Copy and Paste are can also be used.
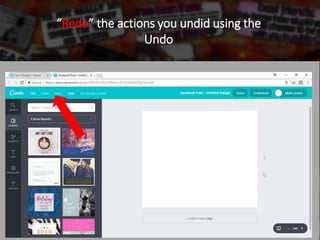
- 44. “Redo” the actions you undid using the Undo
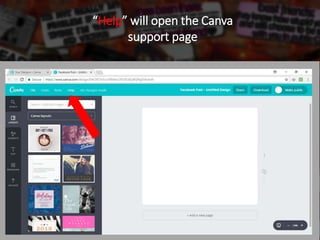
- 45. “Help” will open the Canva support page
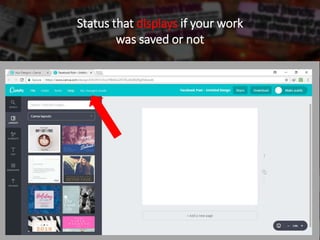
- 46. Status that displays if your work was saved or not
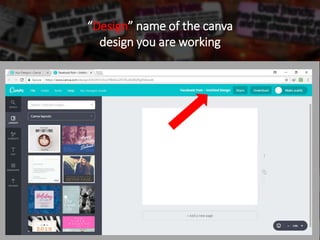
- 47. “Design” name of the canva design you are working
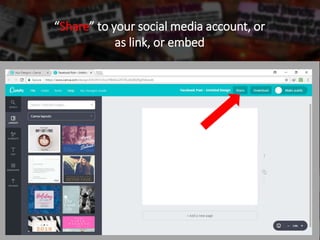
- 48. “Share” to your social media account, or as link, or embed
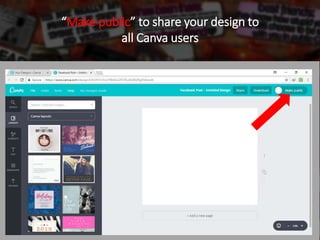
- 50. “Make public” to share your design to all Canva users
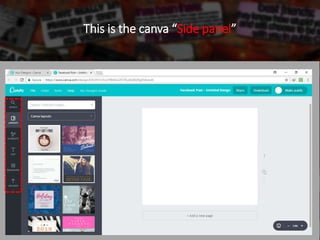
- 51. This is the canva “Side panel”
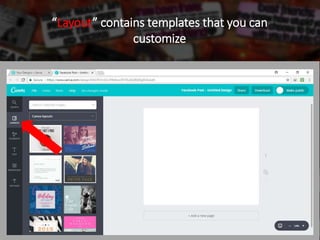
- 52. “Layout” contains templates that you can customize
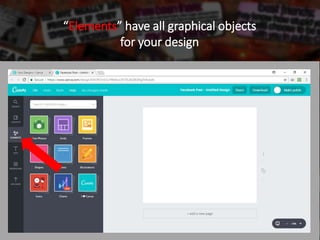
- 53. “Elements” have all graphical objects for your design
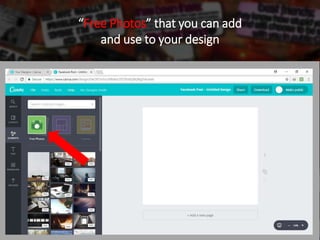
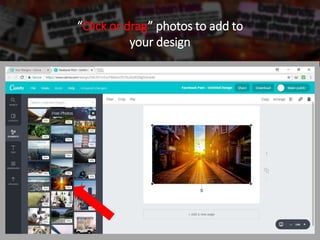
- 54. “Free Photos” that you can add and use to your design
- 55. “Click or drag” photos to add to your design
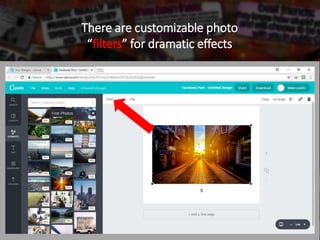
- 56. There are customizable photo “filters” for dramatic effects
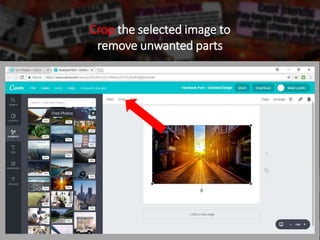
- 57. Crop the selected image to remove unwanted parts
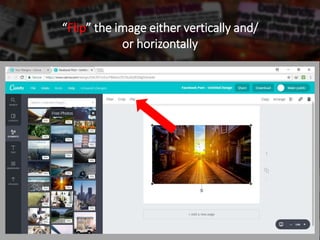
- 58. “Flip” the image either vertically and/ or horizontally
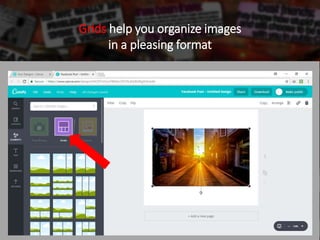
- 59. Grids help you organize images in a pleasing format
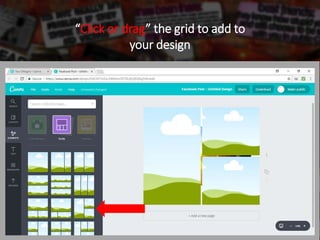
- 60. “Click or drag” the grid to add to your design
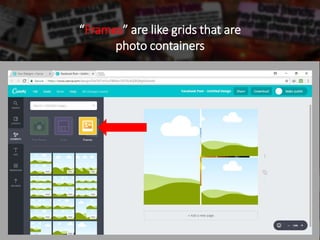
- 61. “Frames” are like grids that are photo containers
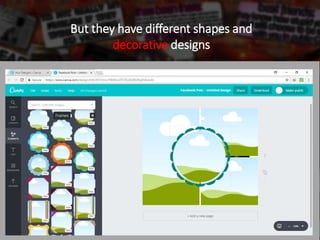
- 62. But they have different shapes and decorative designs
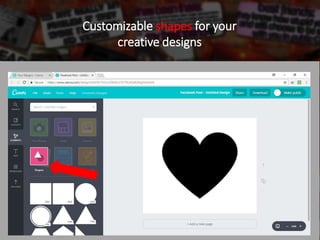
- 63. Customizable shapes for your creative designs
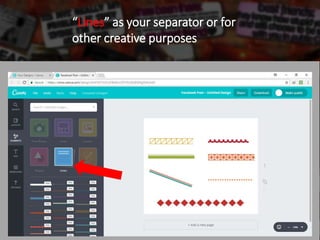
- 64. “Lines” as your separator or for other creative purposes
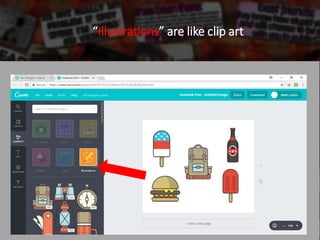
- 65. “Illustrations” are like clip art
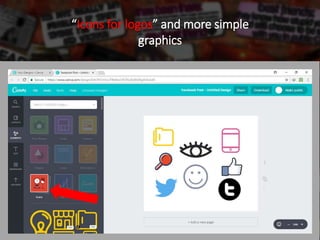
- 66. “Icons for logos” and more simple graphics
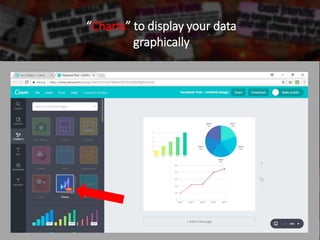
- 67. “Charts” to display your data graphically
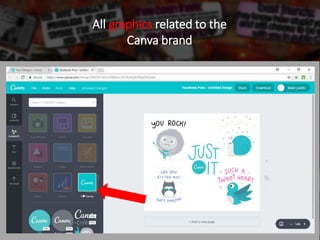
- 68. All graphics related to the Canva brand
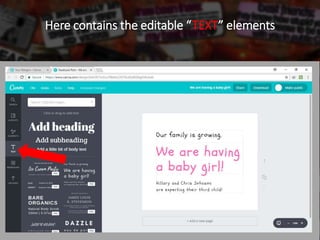
- 69. Here contains the editable “TEXT” elements
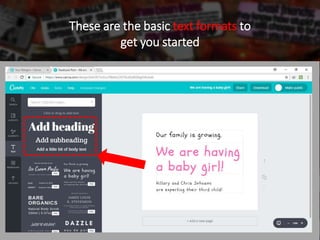
- 70. These are the basic text formats to get you started
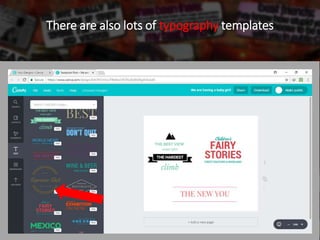
- 71. There are also lots of typography templates
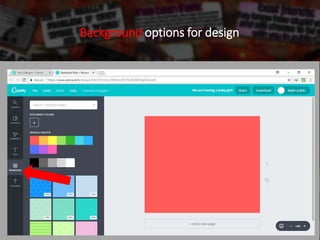
- 72. Background options for design
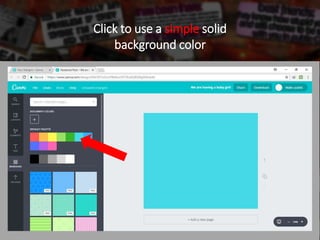
- 73. Click to use a simple solid background color
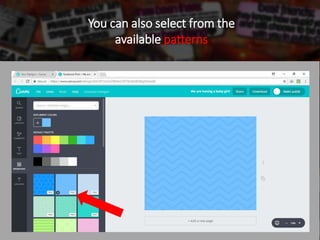
- 74. You can also select from the available patterns
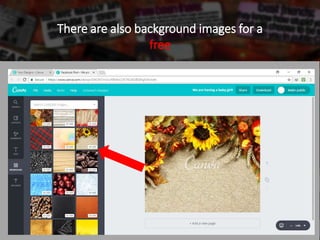
- 75. There are also background images for a free
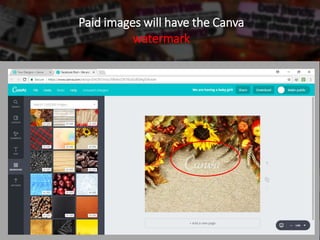
- 76. Paid images will have the Canva watermark
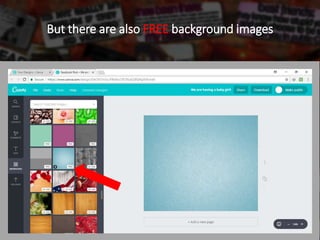
- 77. But there are also FREE background images
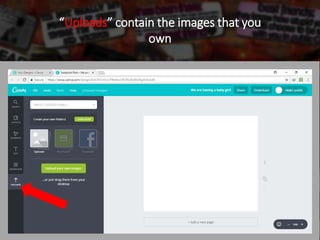
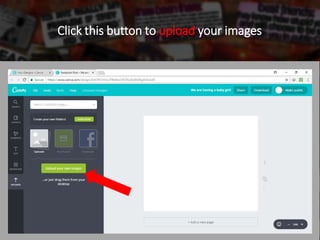
- 78. “Uploads” contain the images that you own
- 79. Click this button to upload your images
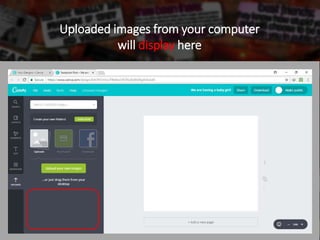
- 80. Uploaded images from your computer will display here
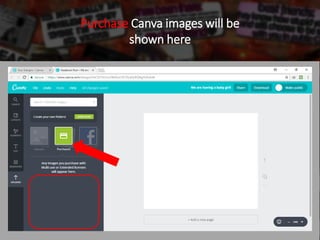
- 81. Purchase Canva images will be shown here
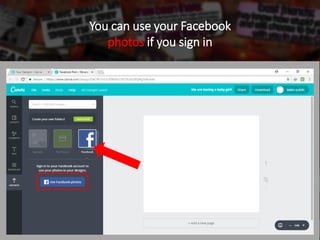
- 82. You can use your Facebook photos if you sign in
- 83. Let’s Start Designing in Canva Now that we have sharpened our axes, it’s time to chop down the tree
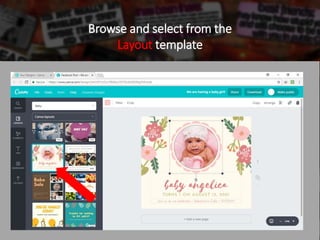
- 84. Browse and select from the Layout template
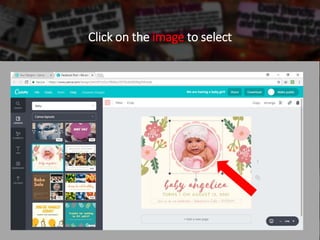
- 85. Click on the image to select
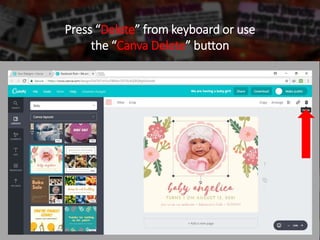
- 86. Press “Delete” from keyboard or use the “Canva Delete” button
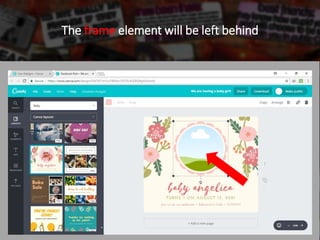
- 87. The frame element will be left behind
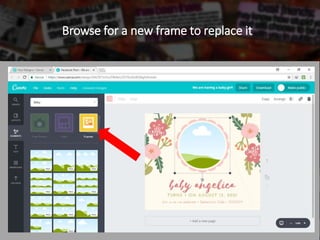
- 88. Browse for a new frame to replace it
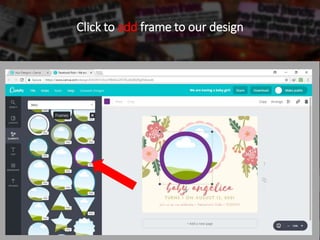
- 89. Click to add frame to our design
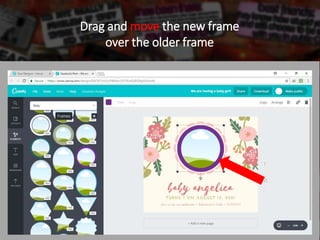
- 90. Drag and move the new frame over the older frame
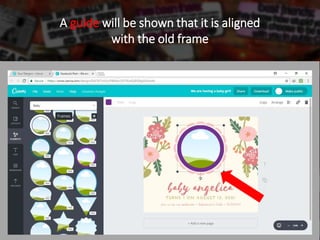
- 91. A guide will be shown that it is aligned with the old frame
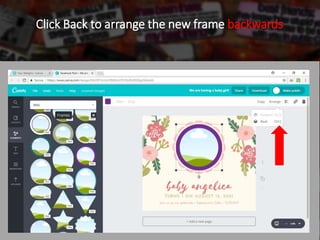
- 92. Click Back to arrange the new frame backwards
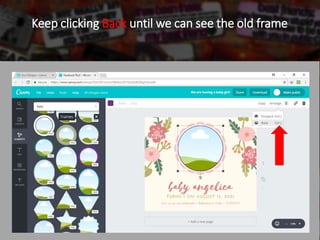
- 93. Keep clicking Back until we can see the old frame
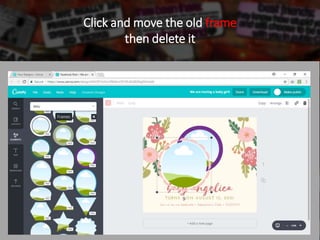
- 94. Click and move the old frame then delete it
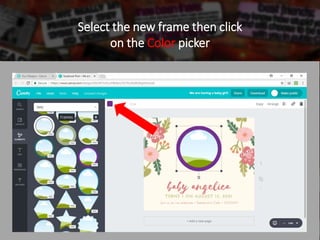
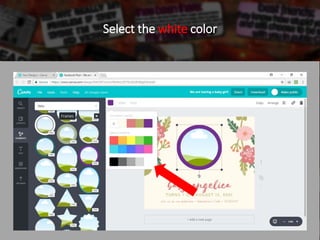
- 95. Select the new frame then click on the Color picker
- 96. Select the white color
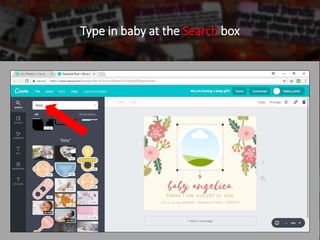
- 97. Type in baby at the Search box
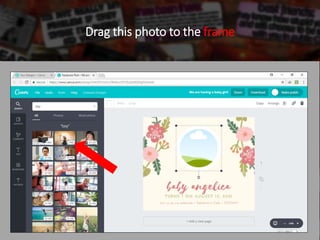
- 98. Drag this photo to the frame
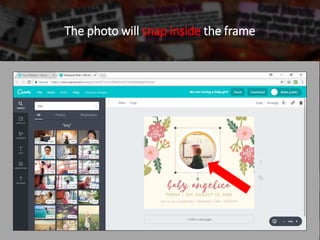
- 99. The photo will snap inside the frame
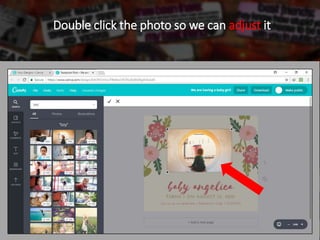
- 100. Double click the photo so we can adjust it
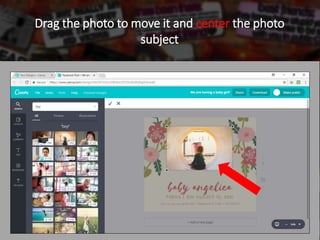
- 101. Drag the photo to move it and center the photo subject
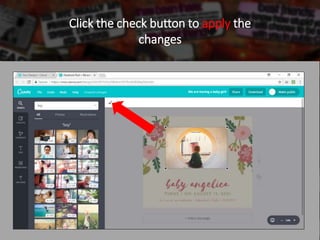
- 102. Click the check button to apply the changes
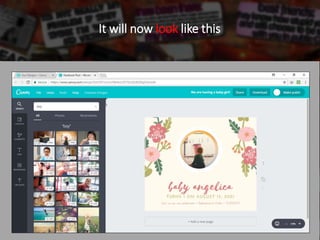
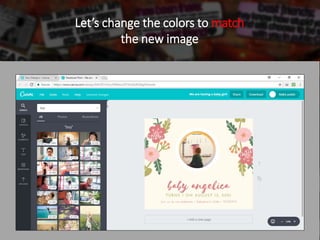
- 103. It will now look like this
- 104. Let’s change the colors to match the new image
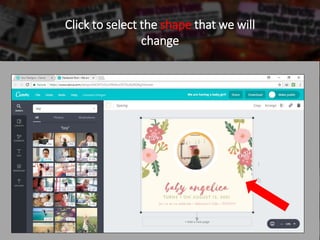
- 105. Click to select the shape that we will change
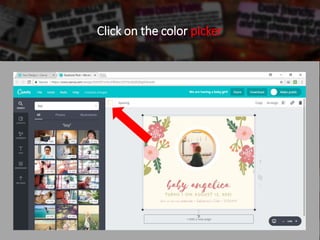
- 106. Click on the color picker
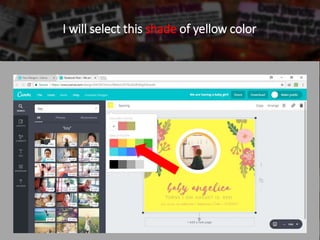
- 107. I will select this shade of yellow color
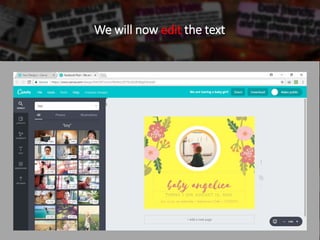
- 108. We will now edit the text
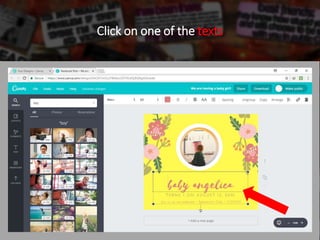
- 109. Click on one of the texts
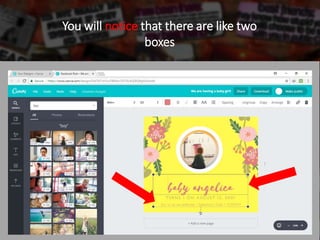
- 110. You will notice that there are like two boxes
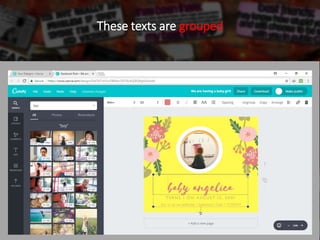
- 111. These texts are grouped
- 112. Tips Two or more texts objects can be grouped together and treated as one object. Actions like copy, move, resize, and more can be done once and will apply to all the objects in the group..
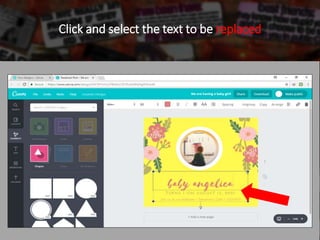
- 113. Click and select the text to be replaced
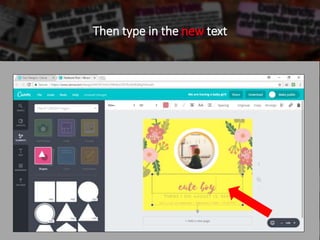
- 114. Then type in the new text
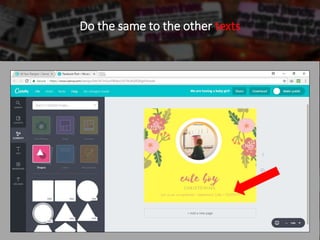
- 115. Do the same to the other texts
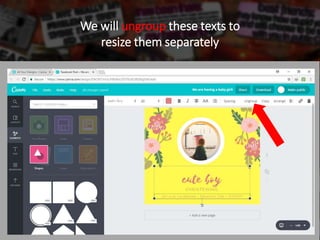
- 116. We will ungroup these texts to resize them separately
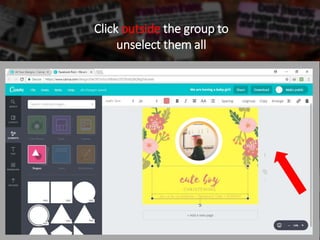
- 117. Click outside the group to unselect them all
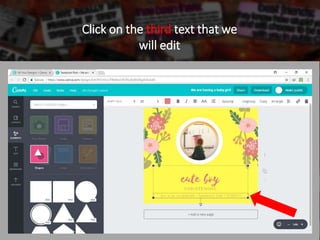
- 118. Click on the third text that we will edit
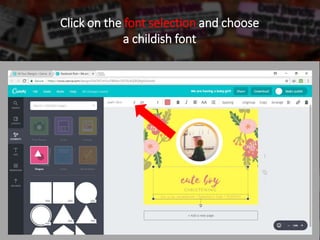
- 119. Click on the font selection and choose a childish font
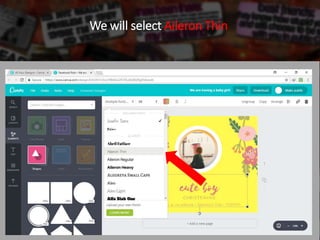
- 120. We will select Aileron Thin
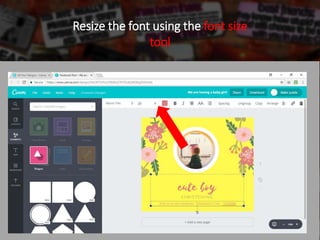
- 121. Resize the font using the font size tool
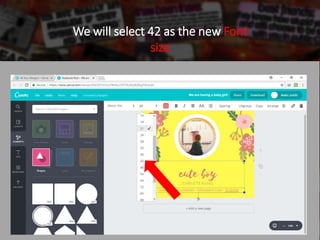
- 122. We will select 42 as the new Font size
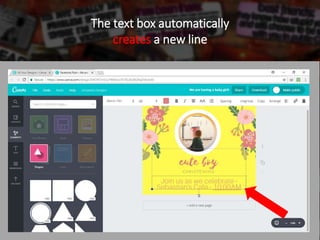
- 123. The text box automatically creates a new line
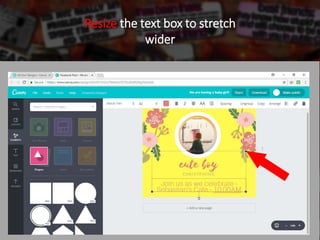
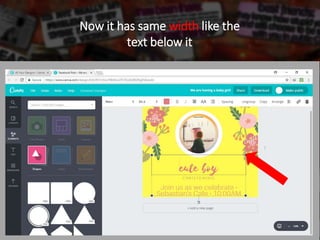
- 124. Resize the text box to stretch wider
- 125. Now it has same width like the text below it
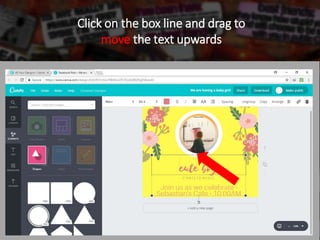
- 126. Click on the box line and drag to move the text upwards
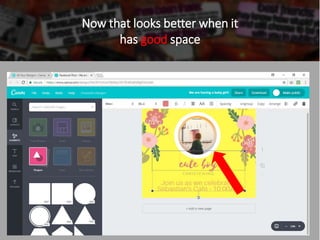
- 127. Now that looks better when it has good space
- 128. When moving an object around your Canva design, you can also use the Arrow keys from your keyboard. You can do this to all movable elements like text, shapes, frames, images, etc. Tips
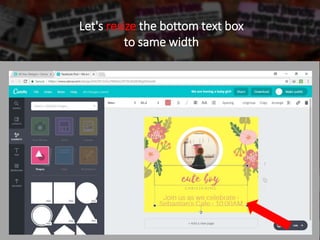
- 129. Let's resize the bottom text box to same width
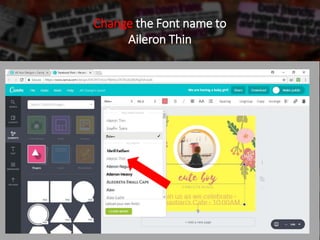
- 130. Change the Font name to Aileron Thin
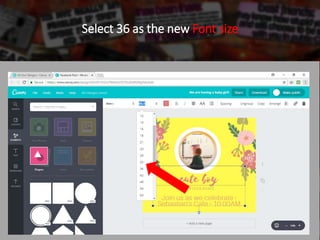
- 131. Select 36 as the new Font size
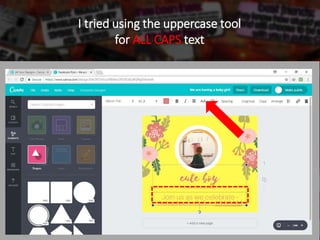
- 132. I tried using the uppercase tool for ALL CAPS text
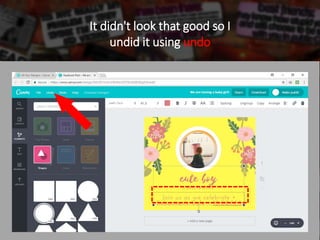
- 133. It didn't look that good so I undid it using undo
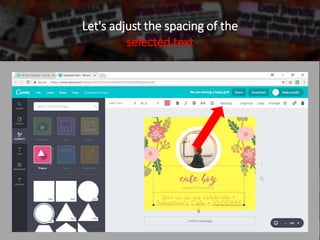
- 134. Let's adjust the spacing of the selected text
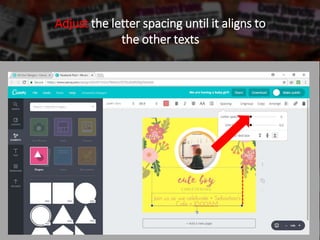
- 135. Adjust the letter spacing until it aligns to the other texts
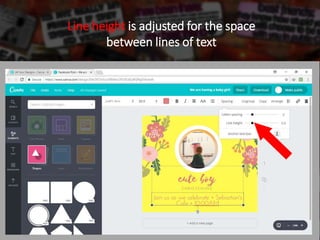
- 136. Line height is adjusted for the space between lines of text
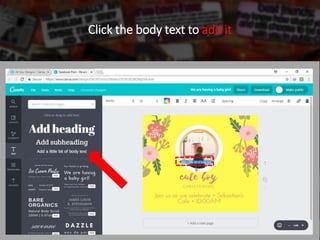
- 137. Click the body text to add it
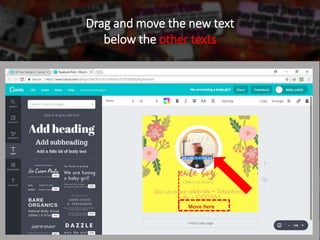
- 138. Drag and move the new text below the other texts
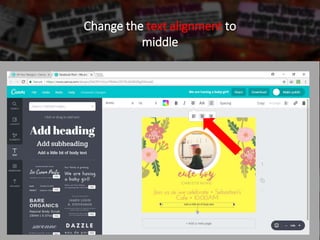
- 139. Change the text alignment to middle
- 140. Tips We are using only 2 Font styles for this design to keep it simple. Avoid using too many font and type styles. You can simplify your designs but still keep them bursting with brilliance.
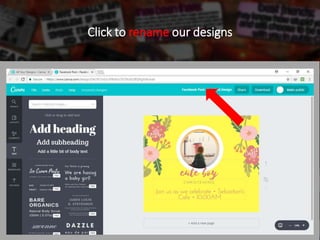
- 141. Click to rename our designs
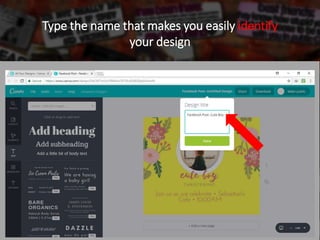
- 142. Type the name that makes you easily identify your design
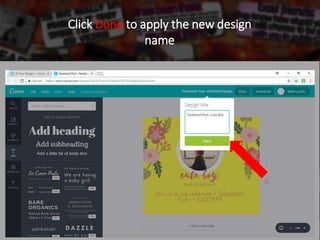
- 143. Click Done to apply the new design name
- 144. Tips Start your design names with the design type, you created. This will give you an idea about the image size and use of this design. You can use something like FBP – Baby Steps for our sample sample design where FBP means Facebook Post or maybe FBC if you are designing a Facebook Cover. Make something that helps identify your designs while browsing them from your dashboard.
- 145. Downloadig our designs from Canva Time to share our creative design to the world
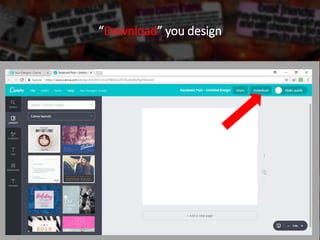
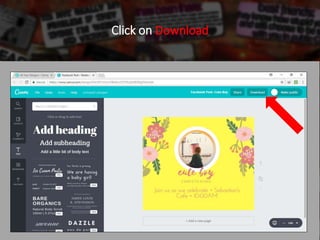
- 146. Click on Download
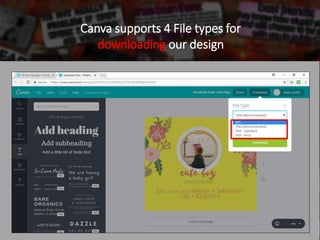
- 147. Canva supports 4 File types for downloading our design
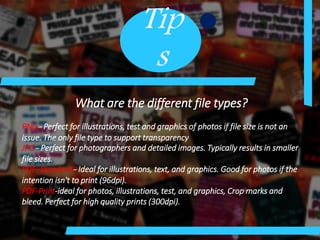
- 148. Tip s What are the different file types? PNG- Perfect for illustrations, test and graphics of photos if file size is not an issue. The only file type to support transparency JPG- Perfect for photographers and detailed images. Typically results in smaller file sizes. PDF- Standard- Ideal for illustrations, text, and graphics. Good for photos if the intention isn't to print (96dpi). PDF-Print-ideal for photos, illustrations, test, and graphics, Crop marks and bleed. Perfect for high quality prints (300dpi).
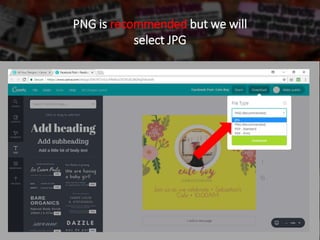
- 149. PNG is recommended but we will select JPG
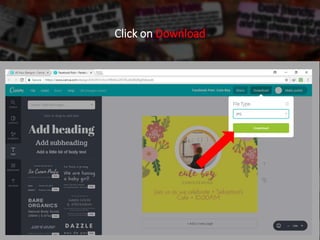
- 150. Click on Download
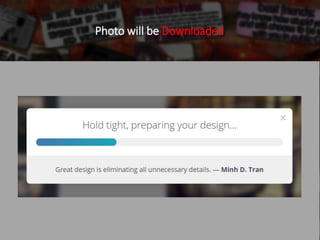
- 151. Photo will be Downloaded
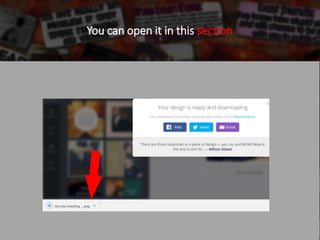
- 152. You can open it in this section
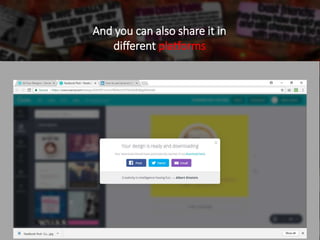
- 153. And you can also share it in different platforms
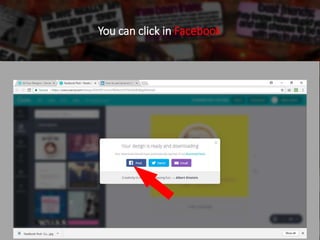
- 154. You can click in Facebook
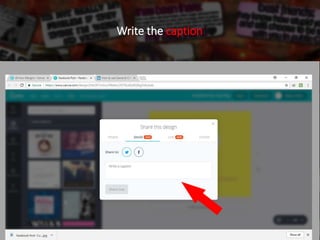
- 155. Write the caption
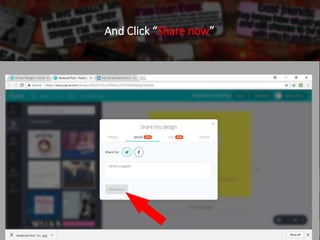
- 156. And Click “Share ˛Ô´Ç·É”
- 157. Congratulations!
- 158. You have just created a stunning design
- 159. Thank You for watching this tutorial

