Lidded clay box or jar
- 1. Ceramics Lidded clay box / jar Into to Clay / Ceramics Unit Melissa Rhinehart MSED http://images.google.com/imgres?imgurl=http://www.shalanah.com/waconia-ceramics/images/box- 02.jpg&imgrefurl=http://www.shalanah.com/waconia-ceramics/gallery.php&usg=__3XjY8YlF3mogtc477V- lmnKcsCE=&h=500&w=332&sz=71&hl=en&start=65&itbs=1&tbnid=apszsPj9RpXmQM:&tbnh=130&tbnw=86&prev=/images%3Fq%3Dcla y%2Bboxes%26gbv%3D2%26ndsp%3D20%26hl%3Den%26sa%3DN%26start%3D60 http://www.shalanah.com/waconia-ceramics/images/box-02.jpg
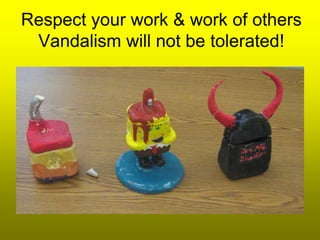
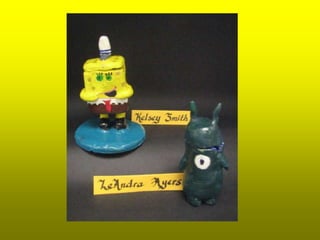
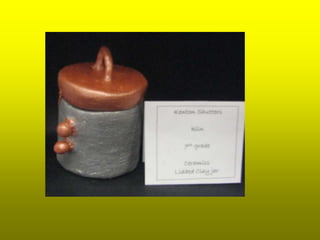
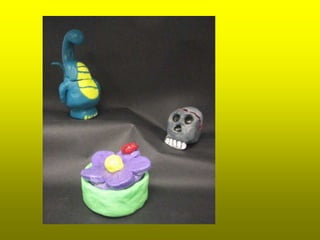
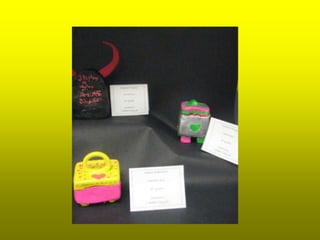
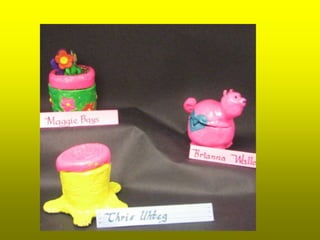
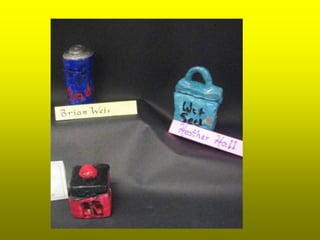
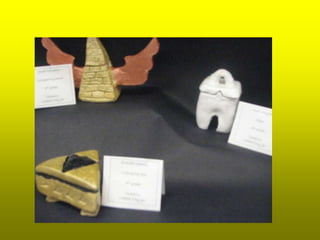
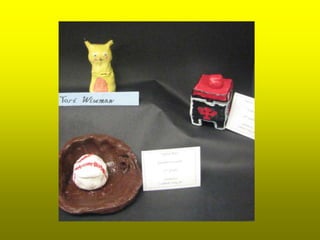
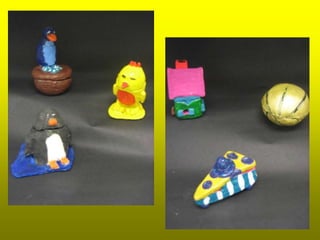
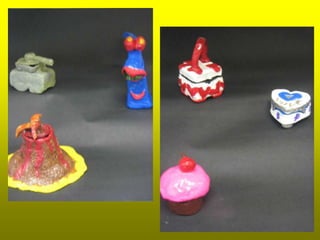
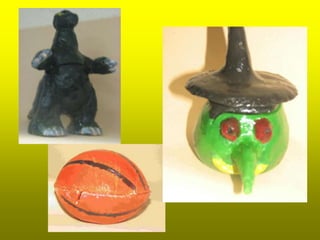
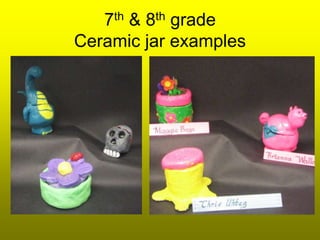
- 2. 7th & 8th grade Ceramic jar examples
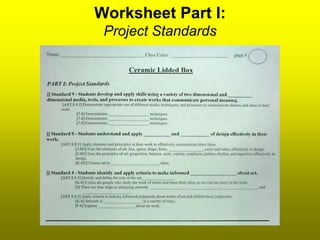
- 3. Worksheet Part I: Project Standards
- 4. Standards • [] Standard 9 - Students develop and apply skills using a variety of two dimensional and three dimensional media, tools, and processes to create works that communicate personal meaning. – [ART.8.9.1] Selectively utilize the visual characteristics and expressive features of a given medium to enhance meaning in their work. – [ART.8.9.2] Demonstrate appropriate use of different media, techniques, and processes to communicate themes and ideas in their work. » [7-8] Demonstrates ceramics techniques. » [7-8] Demonstrates sculpture techniques. » [7-8] Demonstrates painting techniques.
- 5. Standards • [] Standard 8 - Students understand and apply elements and principles of design effectively in their work. – [ART.8.8.1] Apply elements and principles in their work to effectively communicate their ideas. • [2-HS] Uses the elements of art: line, space, shape, form, texture, color and value, effectively in design • [2-HS] Uses the principles of art: proportion, balance, unity, variety, emphasis, pattern, rhythm, and repetition effectively in design. • [K-HS] Creates art to communicate ideas.
- 6. Standards • [] Standard 4 - Students identify and apply criteria to make informed judgements about art. – [ART.8.4.1] Identify and define the role of the art critic. • [K-8] Critics are people who study the work of artists and share their ideas so we can see more in the work. • [8] There are four steps to critiquing artwork: describing, analyzing, interpreting, and evaluating. – [ART.8.4.2] Apply criteria in making informed judgments about works of art and defend these judgments. • [K-8] Artwork is valuable in a variety of ways. • [F-8] Express feelings about art work.
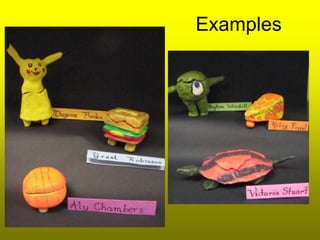
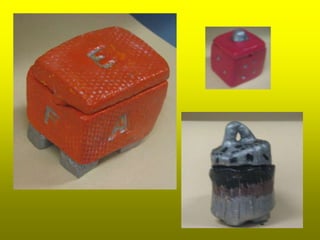
- 7. Examples
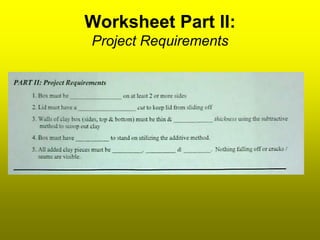
- 8. Worksheet Part II: Project Requirements
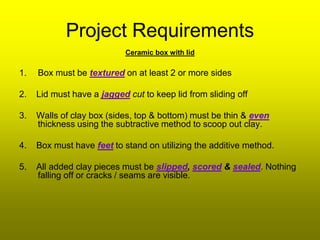
- 9. Project Requirements Ceramic box with lid 1. Box must be textured on at least 2 or more sides 2. Lid must have a jagged cut to keep lid from sliding off 3. Walls of clay box (sides, top & bottom) must be thin & even thickness using the subtractive method to scoop out clay. 4. Box must have feet to stand on utilizing the additive method. 5. All added clay pieces must be slipped, scored & sealed. Nothing falling off or cracks / seams are visible.
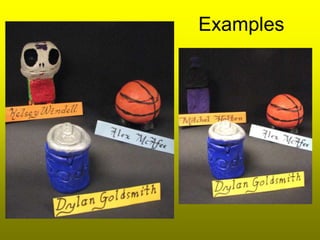
- 10. Examples
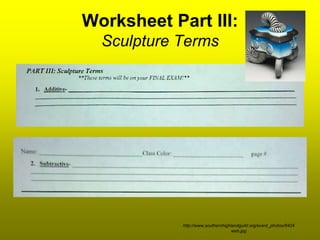
- 11. Worksheet Part III: Sculpture Terms http://www.southernhighlandguild.org/event_photos/8424 web.jpg
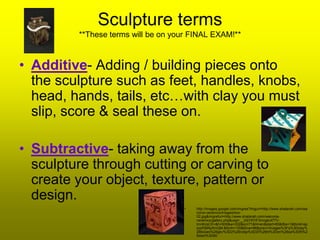
- 12. Sculpture terms **These terms will be on your FINAL EXAM!** • Additive- Adding / building pieces onto the sculpture such as feet, handles, knobs, head, hands, tails, etc…with clay you must slip, score & seal these on. • Subtractive- taking away from the sculpture through cutting or carving to create your object, texture, pattern or design. • http://images.google.com/imgres?imgurl=http://www.shalanah.com/wa conia-ceramics/images/box- 02.jpg&imgrefurl=http://www.shalanah.com/waconia- ceramics/gallery.php&usg=__3XjY8YlF3mogtc477V- lmnKcsCE=&h=500&w=332&sz=71&hl=en&start=65&itbs=1&tbnid=ap szsPj9RpXmQM:&tbnh=130&tbnw=86&prev=/images%3Fq%3Dclay% 2Bboxes%26gbv%3D2%26ndsp%3D20%26hl%3Den%26sa%3DN%2 6start%3D60
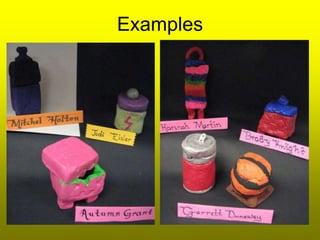
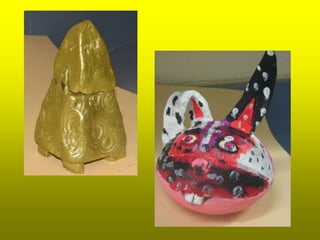
- 13. Examples
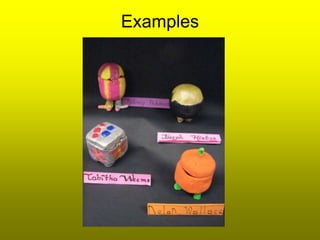
- 14. Examples
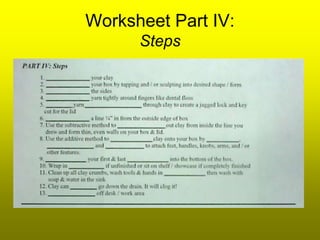
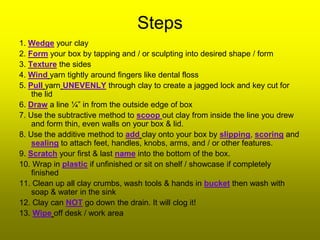
- 15. Worksheet Part IV: Steps
- 16. Steps 1. Wedge your clay 2. Form your box by tapping and / or sculpting into desired shape / form 3. Texture the sides 4. Wind yarn tightly around fingers like dental floss 5. Pull yarn UNEVENLY through clay to create a jagged lock and key cut for the lid 6. Draw a line ¼” in from the outside edge of box 7. Use the subtractive method to scoop out clay from inside the line you drew and form thin, even walls on your box & lid. 8. Use the additive method to add clay onto your box by slipping, scoring and sealing to attach feet, handles, knobs, arms, and / or other features. 9. Scratch your first & last name into the bottom of the box. 10. Wrap in plastic if unfinished or sit on shelf / showcase if completely finished 11. Clean up all clay crumbs, wash tools & hands in bucket then wash with soap & water in the sink 12. Clay can NOT go down the drain. It will clog it! 13. Wipe off desk / work area
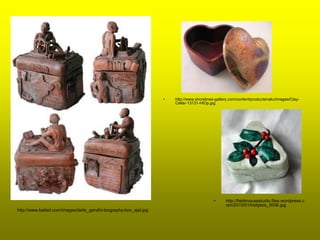
- 17. • http://www.shorelines-gallery.com/content/products/raku/images/Clay- Cellar-13131-HtOp.jpg • http://fieldmousestudio.files.wordpress.c om/2010/01/hollybox_0006.jpg http://www.katied.com/images/deits_gandhi-biography-box_ejal.jpg
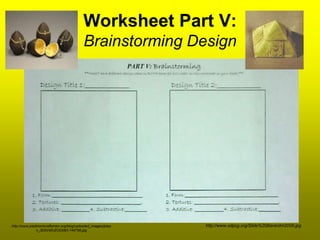
- 18. Worksheet Part V: Brainstorming Design http://www.piedmontcraftsmen.org/blog/uploaded_images/jolso http://www.sdpcg.org/∫›∫›fl£%20Bank/dm2009.jpg n_3D5VMUZOO083-749798.jpg
- 19. Critique • Refer to Art Criticism worksheet & the 4 steps of art criticism: • Description • Analysis • Interpretation • Judgment
- 20. Respect your work & work of others Vandalism will not be tolerated!
![Standards
• [] Standard 9 - Students develop and apply skills
using a variety of two dimensional and three
dimensional media, tools, and processes to create
works that communicate personal meaning.
– [ART.8.9.1] Selectively utilize the visual characteristics and
expressive features of a given medium to enhance meaning in
their work.
– [ART.8.9.2] Demonstrate appropriate use of different
media, techniques, and processes to communicate themes and
ideas in their work.
» [7-8] Demonstrates ceramics techniques.
» [7-8] Demonstrates sculpture techniques.
» [7-8] Demonstrates painting techniques.](https://image.slidesharecdn.com/liddedclayboxorjar-130222035559-phpapp02/85/Lidded-clay-box-or-jar-4-320.jpg)
![Standards
• [] Standard 8 - Students understand and
apply elements and principles of design
effectively in their work.
– [ART.8.8.1] Apply elements and principles in their
work to effectively communicate their ideas.
• [2-HS] Uses the elements of art: line, space, shape, form,
texture, color and value, effectively in design
• [2-HS] Uses the principles of art: proportion, balance,
unity, variety, emphasis, pattern, rhythm, and repetition
effectively in design.
• [K-HS] Creates art to communicate ideas.](https://image.slidesharecdn.com/liddedclayboxorjar-130222035559-phpapp02/85/Lidded-clay-box-or-jar-5-320.jpg)
![Standards
• [] Standard 4 - Students identify and apply criteria to make
informed judgements about art.
– [ART.8.4.1] Identify and define the role of the art critic.
• [K-8] Critics are people who study the work of artists and share their ideas
so we can see more in the work.
• [8] There are four steps to critiquing artwork: describing, analyzing,
interpreting, and evaluating.
– [ART.8.4.2] Apply criteria in making informed judgments about works of
art and defend these judgments.
• [K-8] Artwork is valuable in a variety of ways.
• [F-8] Express feelings about art work.](https://image.slidesharecdn.com/liddedclayboxorjar-130222035559-phpapp02/85/Lidded-clay-box-or-jar-6-320.jpg)
