Ndt fabrication inspection_tuv_rheinland
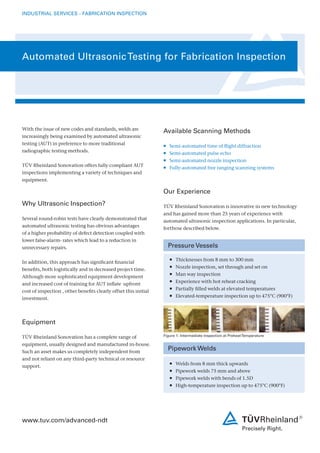
- 1. INDUSTRIAL SERVICES - FABRICATION INSPECTION With the issue of new codes and standards, welds are increasingly being examined by automated ultrasonic testing (AUT) in preference to more traditional radiographic testing methods. T├£V Rheinland Sonovation offers fully compliant AUT inspections implementing a variety of techniques and equipment. Why Ultrasonic Inspection? Several round-robin tests have clearly demonstrated that automated ultrasonic testing has obvious advantages of a higher probability of defect detection coupled with lower false-alarm- rates which lead to a reduction in unnecessary repairs. In addition, this approach has significant financial benefits, both logistically and in decreased project time. Although more sophisticated equipment development and increased cost of training for AUT in’¼éate upfront cost of inspection , other benefits clearly offset this initial investment. Equipment T├£V Rheinland Sonovation has a complete range of equipment, usually designed and manufactured in-house. Such an asset makes us completely independent from and not reliant on any third-party technical or resource support. Available Scanning Methods ŲÆ Semi-automated time of ’¼éight diffraction ŲÆ Semi-automated pulse echo ŲÆ Semi-automated nozzle inspection ŲÆ Fully-automated free ranging scanning systems Our Experience T├£V Rheinland Sonovation is innovative in new technology and has gained more than 25 years of experience with automated ultrasonic inspection applications. In particular, forthose described below. Automated UltrasonicTesting for Fabrication Inspection ŲÆ Welds from 8 mm thick upwards ŲÆ Pipework welds 75 mm and above ŲÆ Pipework welds with bends of 1.5D ŲÆ High-temperature inspection up to 475┬░C (900┬░F) Pipework Welds ŲÆ Thicknesses from 8 mm to 300 mm ŲÆ Nozzle inspection, set through and set on ŲÆ Man way inspection ŲÆ Experience with hot reheat cracking ŲÆ Partially filled welds at elevated temperatures ŲÆ Elevated-temperature inspection up to 475┬░C (900┬░F) Pressure Vessels ┬Ā Figure 1: Intermediate Inspection at PreheatTemperature www.tuv.com/advanced-ndt
- 2. INDUSTRIAL SERVICES - FABRICATION INSPECTION Benefits at a Glance: ŲÆŲÆ No problems with radiation issues, allowing more work to be carried out in the immediate inspection vicinity ŲÆŲÆ No logistical problems such as chemical provision and subsequent environmental disposal ŲÆŲÆ No transporting of pressure vessels to radiographic bunkers ŲÆŲÆ Shorter inspection times ŲÆŲÆ Higher probability of detection ŲÆŲÆ Lower false-alarm rates, therefore reducing repairs ŲÆŲÆ All data digitized, providing easy data storage ŲÆŲÆ Inspection data easily transferable via the internet. All of our technicians are suitably qualified. The staff for site inspections is qualified to the relevant International (ISO), European (EN) and/or American (ASNT) standards. Our fully-audited competence management system assures that our operators have adequate and relevant experience in the application of the techniques, interpretation of the data produced, and are fully conversant with AUT equipment. In addition, we have a large team of Level III engineers to assist in procedural preparation and any required independent consultancy. Procedures and ScanPlan┬« The preparation of adequate procedures and scanning plans is most important for AUT on construction welds. Therefore, T├£V Rheinland Sonovation has developed its own ScanPlan┬« system, for integration with procedural and contractual obligations related to the technique offered. It is now possible to subject a basic weld profile to fully code- compliant inspection that covers all existing practical and economic issues. For more complex geometries, we have full modeling and simulation capabilities which have been proven in several projects where the boundaries of technology and quality of inspection were pushed even further. ┬«T├£V,TUEVandTUVareregisteredtrademarks.Anyandallusesofthesetrademarksrequirepermission. T├£V Rheinland Sonovation B.V. Competence Center for Non-Destructive Testing Elschot 30, 4905 AZ Oosterhout, The Netherlands T: +31 162 425588 ndt@tuv.com www.tuv.com/advanced-ndt Your contact: AboutT├£V Rheinland: Founded 140 years ago, T├£V Rheinland is a global leader in independent inspection services, ensuring quality and safety for people, the environment, and technology in nearly all aspects of life.


