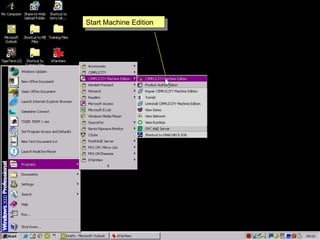
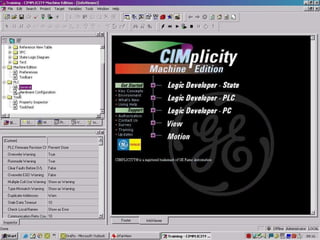
Proficy machine edition environment
- 2. Select an existing project or create a new one
- 3. Select an existing template or create a new template
- 4. We can see all of the development windows available Infoviewer Toolchest Feedback Zone Variable Monitor Companion Window Properties Navigator
- 5. The navigator sub menus Project Navigator shows targets and their components
- 6. Variable table shows all targets variables
- 7. Information window contains all help information
- 8. The local project folder. Projects started ,copied, backed-up and restored here.
- 9. ╠²
- 10. ╠²
- 11. Tools folder
- 12. ╠²
- 13. ╠²
- 14. ╠²
- 15. Options folder. Where we set up colour preferences and all of the environment features for logic , alarms etc..
- 16. ╠²
- 17. ╠²
- 18. ╠²
- 19. ╠²
- 21. When we select a theme or set of tools the secondary tool row reflects the choice
- 22. Here we have Logic PC Tools
- 23. By selecting a different type of target component
- 24. We now have VIEW tools which become highlighted when relevant
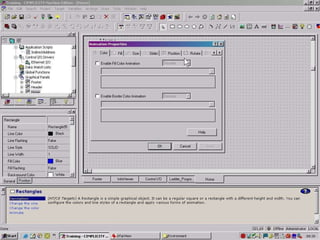
- 25. We can set the animation properties by double-clicking the graphic
- 26. ╠²
- 27. ╠²
- 28. ╠²
Editor's Notes
- #2: Note that as well as initiating the Machine edition development environment, we can also see the View demo, check our network settings,configure our OPC server, check our direct memory access, start View Runtime,launch TrendX the inbuilt logger and also repair/uninstall Machine Edition
- #3: Select an existing template these generally cover the most common project requirements
- #4: For our purposes we will use View and Control. View is the HMI element where we will visualise our target Control is where we will program logic to be controlled on our local PC
- #5: Now we are presented with the standard toolbars and screens. Cimplicity Machine Edition is a windows orientated environment and you will find as with windows nearly all toolbars have a quick short-cut by right clicking on objects as you proceed By clicking on the icons at the top of the screen we can toggle the various screens on and off
- #6: The Navigator window has several sub-menus that will be of use in our programming The project navigator shows all of the targets in our project we can add new targets at any time
- #7: The variable table shows the variables in our targets. These can be derived from PLCs directly, or from remote I/O through access drivers, or from OPC sources, or control points which are local logic points or they can be internal points. They can be arranged by target , name, type etcŌĆ”
- #8: Here we have all the help files collated together where you can search through for topics. But far easier is to have the Companion window open and view topics as you highlight different elements as you go. The other option is to highlight an object and press F1
- #9: In the local project Folder we have a list of all of our projects on the local machine
- #10: Highlight MY Computer and right click or go to the overhead toolbar File menu item. If we are importing a backed up project this where it will be restored. The backed up files are not compatible with any other ZIP file application like PKZIP for windows. Otherwise select new.
- #11: Double-click on a project you wish to open. Or right click and see other options available
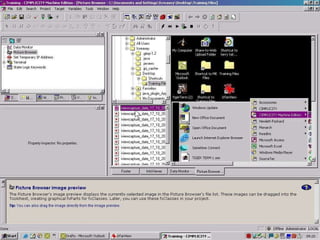
- #12: The tools folder has a number of very useful applications to aid commissioning projects. It also has a browser to preview graphic parts before placing them on a screen
- #13: If we open the data monitor and then go to our variables table, we can by dragging and dropping onto the datmonitor object see the exact performance of our variables. This can be use ful when sequences are set to run at a particular moment or on a particular event occuring
- #14: The picture browser previes our graphics
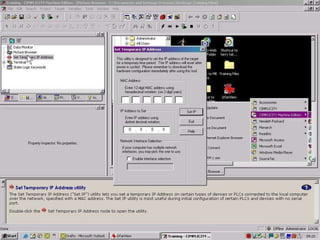
- #15: Set temporary IP Address is extremely useful when needing to temporarily assign a new IP address to say remote I/O NIUs this negates the need to be knowledgeable about TELNET commands etc..
- #16: The options folder is where we configure the layouts and activities in our environment.
- #17: The inspector window is where will enter values such as addresses and here we have set that an incorrect entry will show the label in red a suspect value will show yellow
- #18: Here we can see our PLC environment set-up we get a warning if we want overwrite memory in the PLC. We get a warning if we use a duplicate address.. we could set this to ignore or prevent
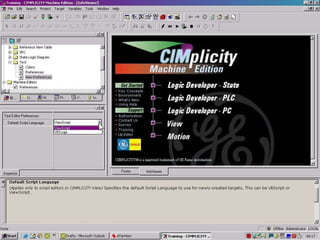
- #19: In Machine Edition we can set the script editior to default to Vbscript or Viewscript
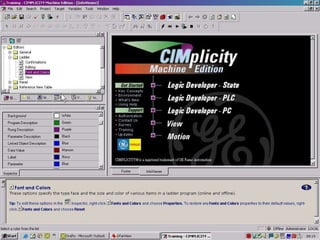
- #20: Here we can set the colours that appear on differing logic performance.Powered rungs are slightly wider and a different colour to unpowered rungs. Modified rungs that have not been downloaded are a different colour etc..
- #21: To set the toolbars that we want use we Apply Theme
- #22: When we select the Logic PC theme contacts and coils tools appear
- #24: We can also select the desired tools through the toolbars item here we have View selected
- #25: Now we can see View configuration tools
- #26: To activate animation properties we need to double click the graphic item or in the inspector window select the animation properties button
- #27: By checking the enableŌĆ”ŌĆ” animation box we can apply animation attributes to the graphic object
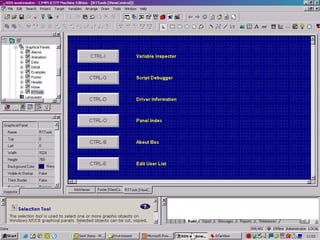
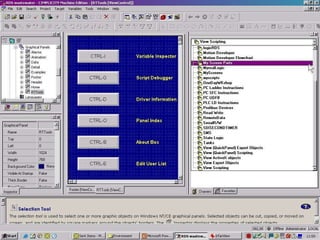
- #28: There are a number of shortcut keys to enable quick access to various features of the project during runtime Variable inspector, script debugger, driver information, panel index, about box, and edit userlist these are useful to the operator not needing the development software
- #29: One of the most useful features of Machine Edition is the Toolchest where we can store parts of screens, screens, Logic and other objects for re-use in later projects. These can be used as exact copies or linked objects
